
So this is something I have done for many of my boys' early pictures, using cardboard mainly from diaper boxes I would create these bright fun frames to decorate their space with. It's been a simple (and inexpensive!) way to showcase their art and bring some color into their room.
The ones here were made using a print program I have, any kind will work I'm sure, but if you're wondering I used Print Artist '95, it's been my go to since 5th grade ;) Simply use an existing frame graphic in the size needed or design your own and print, trim it (inside and out), glue to your cardboard (cut to size) and use an exact-o to cut out the center.
Viola! A cute custom frame for a treasured piece of modern art.
Just an added note, if you want to go the extra mile and really make them look authentic, laminate the frame after you trim it and pre-cut the middle from the cardboard back. Place the picture between the two side and tape or glue and you'll have some cool looking "glass" for your frames (only this kind is unbreakable!)
Today I thought it was time for the kids to start making their own frames.
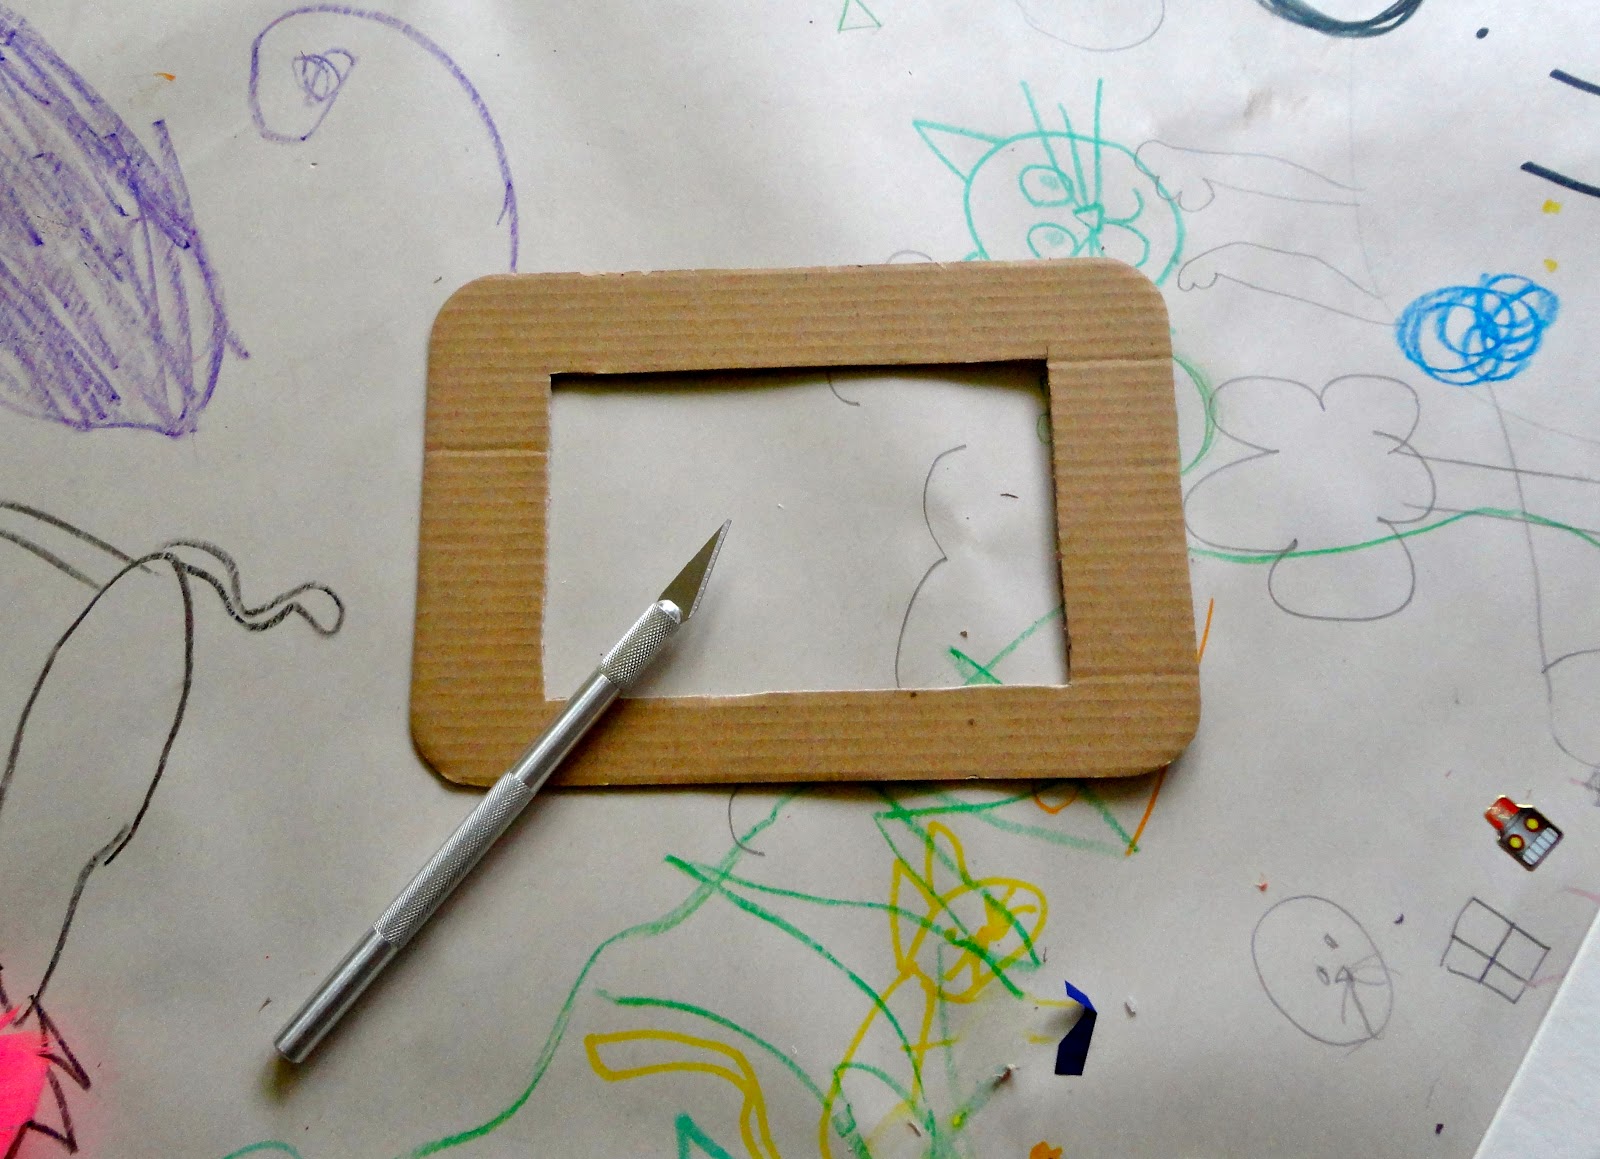
You'll want to prep by taking a piece of cardboard and trimming down to the size, the sides or flaps of any size box will work. Use an Exacto knife to cut out the inside, this can be difficult if you are challenged like me when it comes to cutting straight lines. I found a great trick though, use a photo mat, place on your cardboard and run the knife along the inside edges.
Now all there is to do is decorate!!
They used tempera paint first, then allowed about an hour to dry before adding embellishments. I set out dishes of foam letters, stickers, jewels, pom poms, feathers, glitter, and anything else they might want to make these look awesome.


The only thing to do after the frames were all done was to add a work of art! The kids both chose to draw new pictures, Kailen drew kids playing baseball and Linnea went with a dog (of course!)